|
Last month I had a very positive response from friends and page viewers and I thank you a whole bunch for your support. It has really given me the drive to push forward in this project and I am glad to inform you each and every month of the great progress I have made. This month I haven't been working on any new parts of the suit, but I have reworked the design of the current parts I have made and planned how the whole suit will work in terms of transforming. Redesigning the suit - Identifying the problems
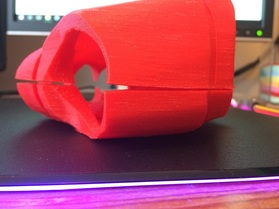
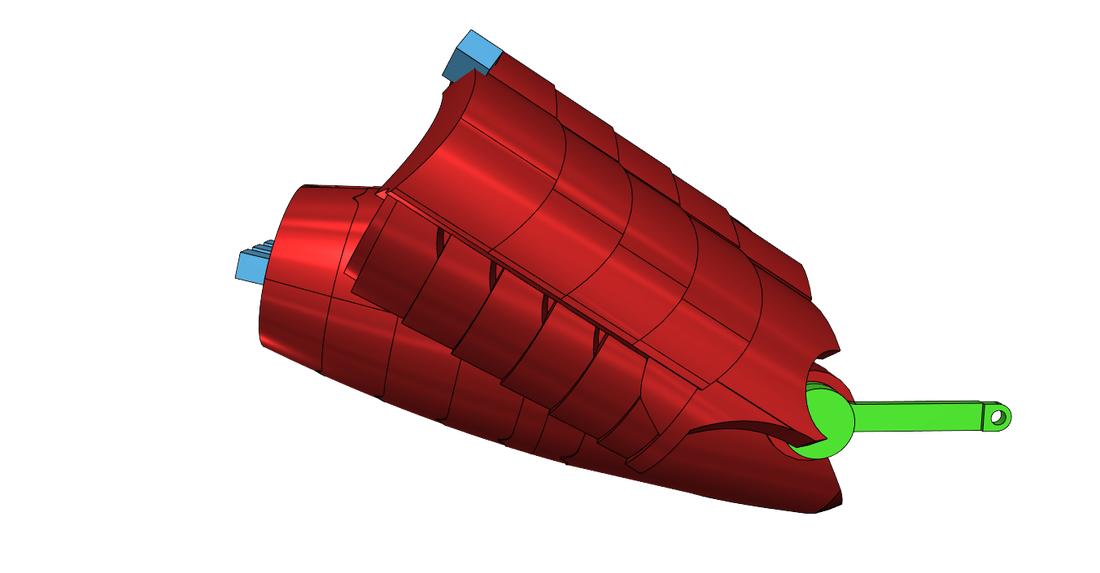
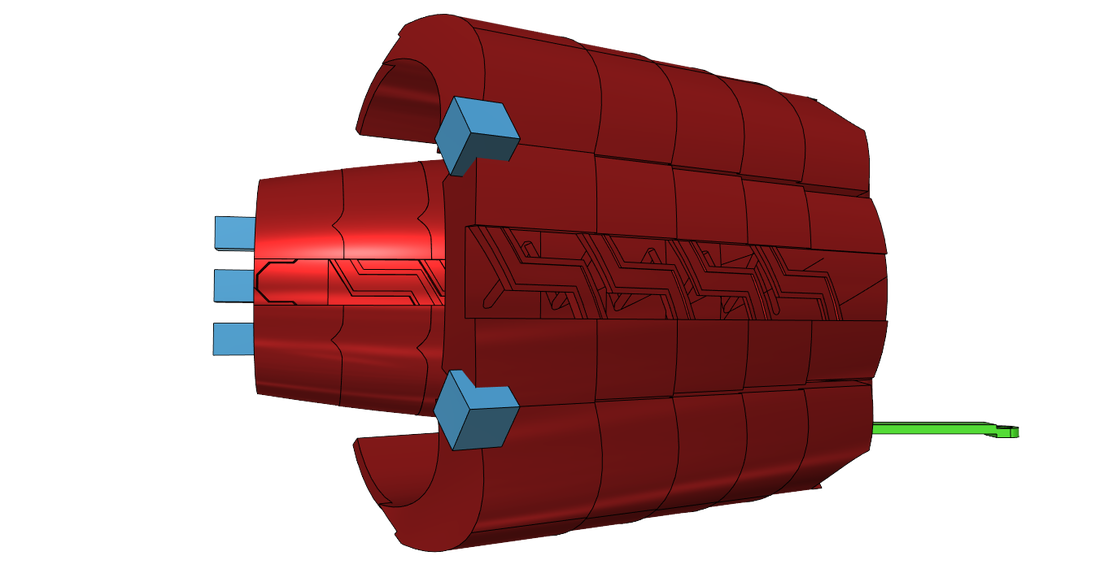
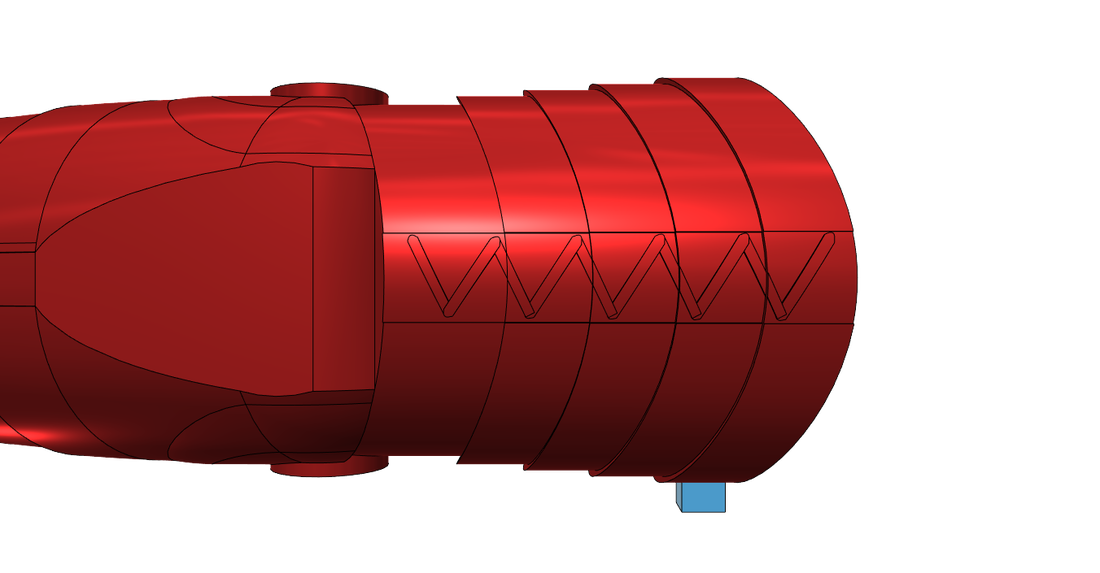
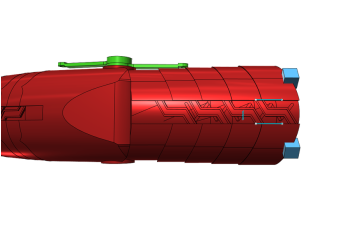
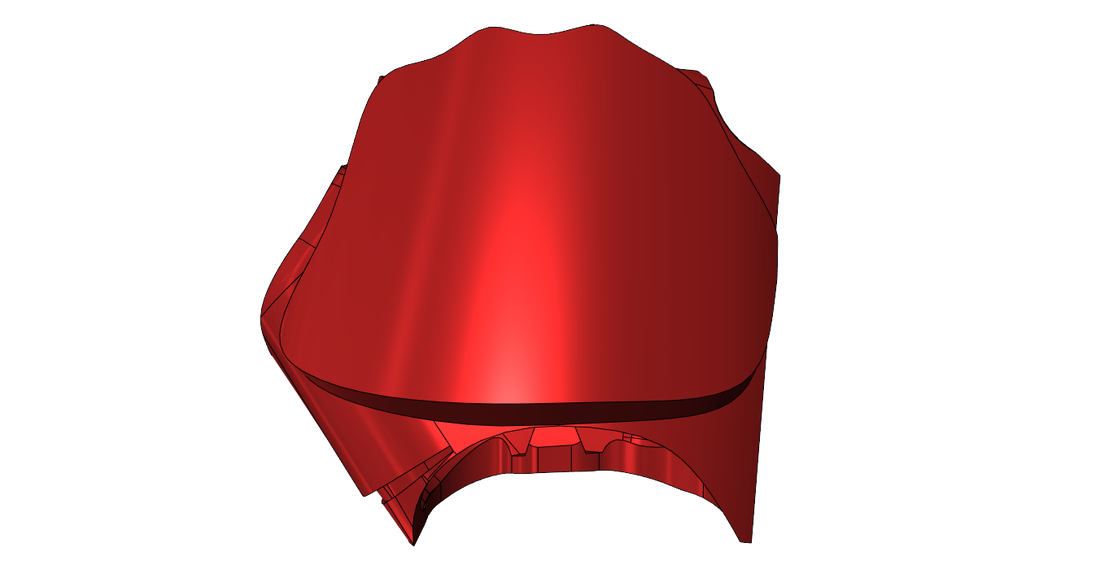
The first problem that was identified last month was that I had made my arms way too thick and that I was worried about not being able to fit in the micro servo with the lower arm being any thinner. This is when I decided to really break away from how the suit in the movie worked. What I was doing was taking the design of the arms from the movie, slightly modifying it and then re-creating that. I know that the suit in the movie is CGI but I was sure I could make this work. Thing is, I have only learnt this month how much more simplified I have to make the suit. I still want it to be movie accurate in terms of its outer design (when worn, not in suitcase form cos that's going to be impossible) and not add anything too far out there like adding an arm missile cover just for storage of electronics. So now I was working on simplifying the suit mechanisms. Redesigning the suit - Stripping down the suit parts currently designedBefore anything else I got rid of all the railing systems I showcased in last month's update post. That included the opening system for the top of the lower arms and the wrist joint I made. I then got rid of the cut outs I made for the micro servo and the string idea before starting to thin the arms out. I really think I have done a good job on this as the upper arm's thickness is no longer about 4 cm but about 2.5 cm. Here are some pictures of the newly thinned out arm designs:
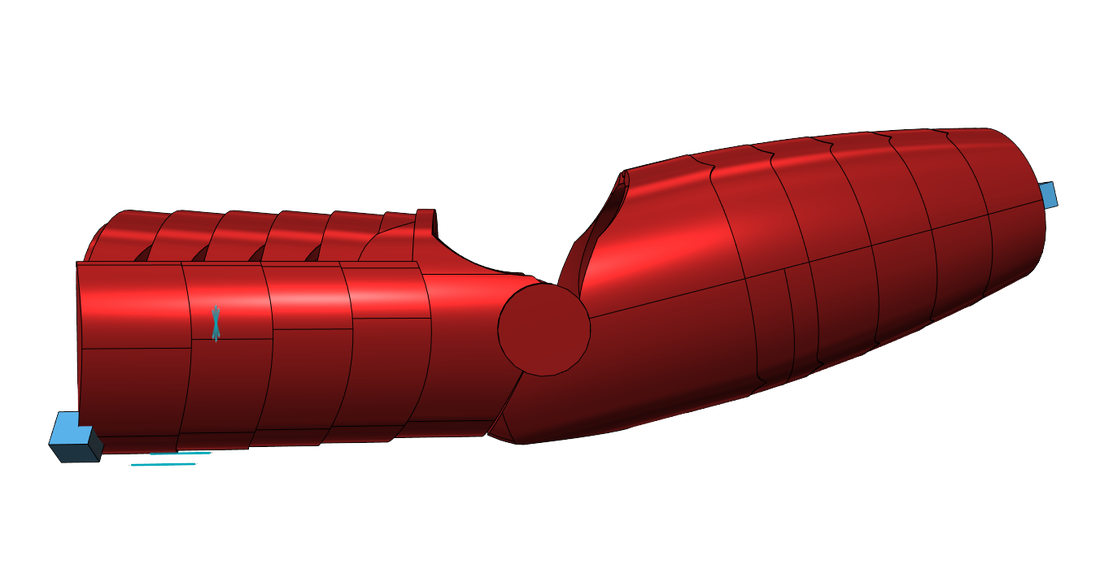
Following the movie suit, my plans of the arm's mechanisms were to have a skeleton inside the arms with the armour covering it. I simplified the skeleton design so that it was just the front but then I ran into all sort of problems with the seam line of the armour and the angle joint. For the upper arm, again following the movie, I planned to have the armour to slide down from the top on a railing system based on the inner skeleton as well as having the top panels rotate vertical. All this was scrapped and I made each the lower and upper arms into solid parts without any skeletons. I still have the top part of the skeleton on my lower arm design right now just because I haven't got round to filling that in yet (it takes a few hours). Redesigning the suit - The new arm mechanisms
Using this new mechanism I have avoided the use of rails and only used two different type of hinges. I also get to keep a lot of the original design on the suit this way. I mean did you see the bottom of the lower arm last month?! It was horrible because I had to layer the pieces for each part to slide into each other. Now I am able to copy the parts on the lower arm, flip them and have a seamless design that I thinks looks waaay better.
Redesigning the suit - The new palm mechanics
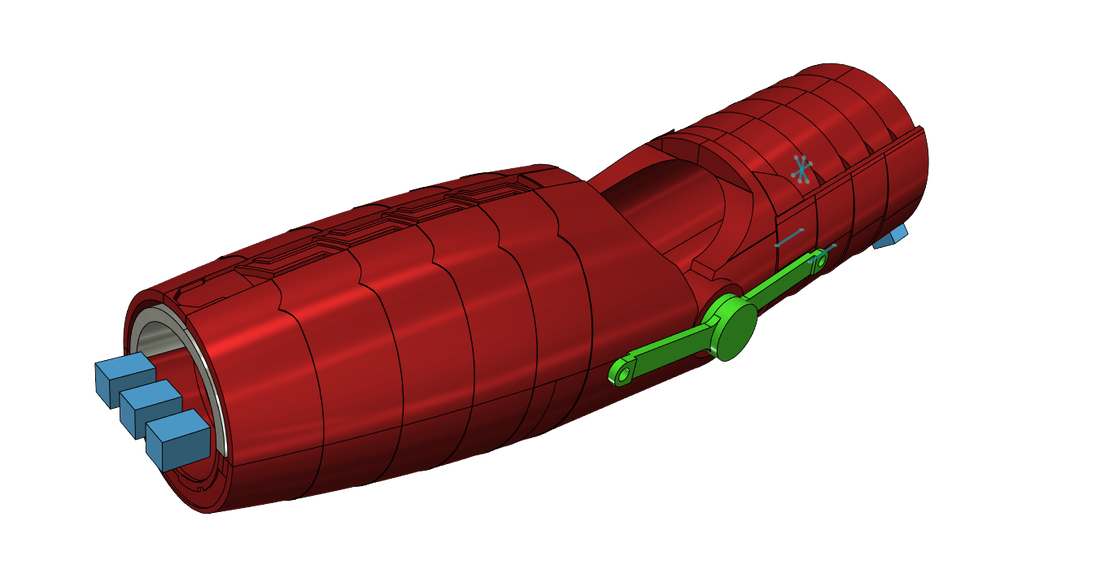
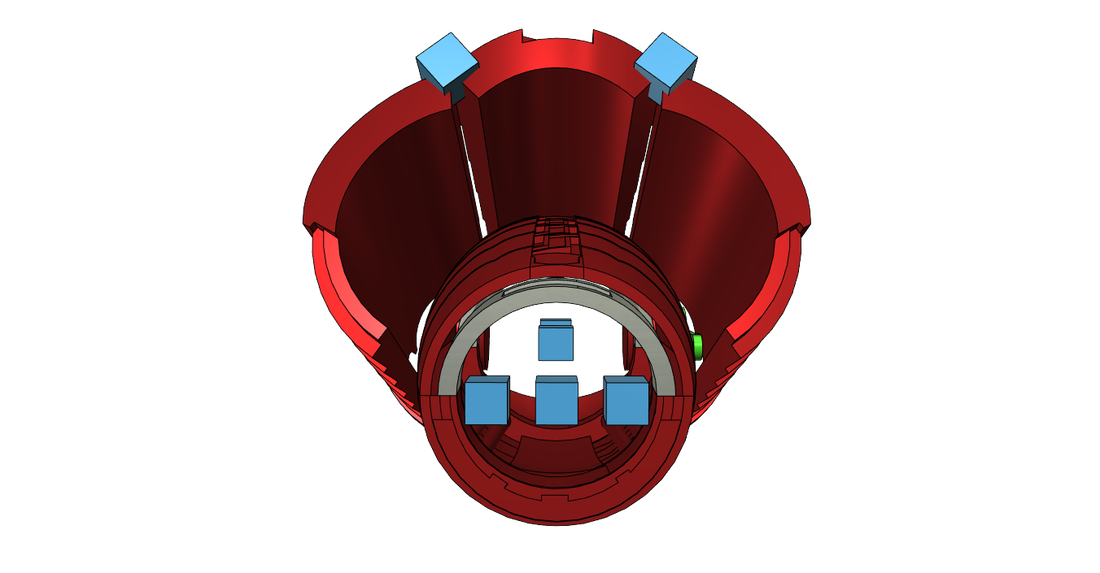
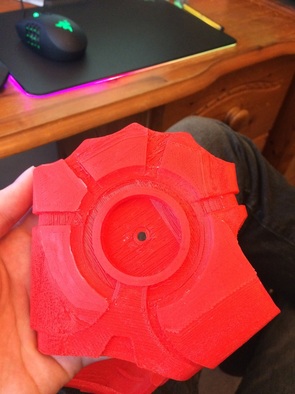
Anyways, the pivot design was good but didn't work on such a small scale with the support material really clogging up the dents. This lego based idea works great in lego, but with 3D printing I figured it isn't really a very viable solution. Also I don't have the potentiometer based in the same place so the awkward slot for it has now been removed. Of course with this new design I can't have the wires for the repulsor and potentiometer go up the inner skeletons and join onto the chest piece so now I'm working those whole systems independently into each palm. The idea is that I make the palm cover plate one with the palm and cut a cutout area for the electronics to go. I can then lead the wires down the sides of the palm and around to the front. Again, with this idea I need to change some things for it to work, that being not having the palms split into two parts anymore. The original reason for this was so I could put my hand into the palm as the wrist was too small for my hand to slide into. What I have realised is that instead I can just have the thumb part come off. I have thought of a few different ways this can work like just having it come straight off and to 'snap' on via magnets just like how the the upper and lower palms were meant to work. I could have the piece slide into place with bits that go on the inside of the palm and clip on or, what I think I'll be trying out, is to have it hinge on the top of the palm with a spring in the middle of the hinge to keep it closed once my hand is inside.
Redesigning the suit - The new palm electronics What I have bought is a Adafruit Trinket Pro 5V version with a Adafruit Lipo Backpack to be able to power the system with a 2000mAh Lipo (Lithium Polymer rechargeable battery). The Adafruit Backpack has two spots to connect a switch which I may add; If not I'll just disconnect the battery from the backpack when the suit isn't in use. I will then have three wires run from the Trinket Pro to the repulsor at the front of the palm, one for power, one for ground and one for data and similarly for the potentiometer which will be placed also at the front of the palm, at the bottom, on top of the wrist. I plan to design and print a slim curved plate that will go against the bottom of the palm and into the inside of the lower arm part of the suit. The top will be glue onto the potentiometer somehow. The plate will be loose except for the potentiometer joint so it should be able to move around freely as I turn my wrist and not take up too much room nor locking my wrist to certain restraints. Again, I have not done this yet but plan too. For the coding I didn't really have to change much, I just had to make everything I had double, for each repulsor, single and rename some things. Here is the code as it is now, which will be the same in each palm. Of course I may change this if the angles aren't quite right or if I want to add some different colours to the mix or a new lighting sequence (like the whole repulsor flashing when it reaches the maximum firing angle or when first turned on). 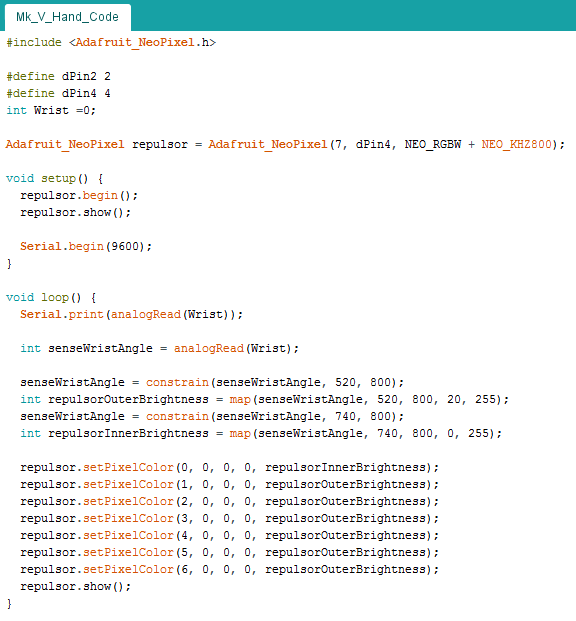 The SummarySo that's about it for this month's work. By next month I plan to have the hand design finished and hopefully at least partially assembled. I also plan to have the arms printed and complete by next month's update and for me to start designing the chest and shoulders based off the mannequin. Thanks for reading and I'll let you know how I have done at the end of next month!
-Cirtoyt
0 Comments
|
Author17 year old college kid who felt his course was too easy for him. Got bored one day and started making a real life iron man suit. Archives
June 2017
CategoriesBack to main site:
|