|
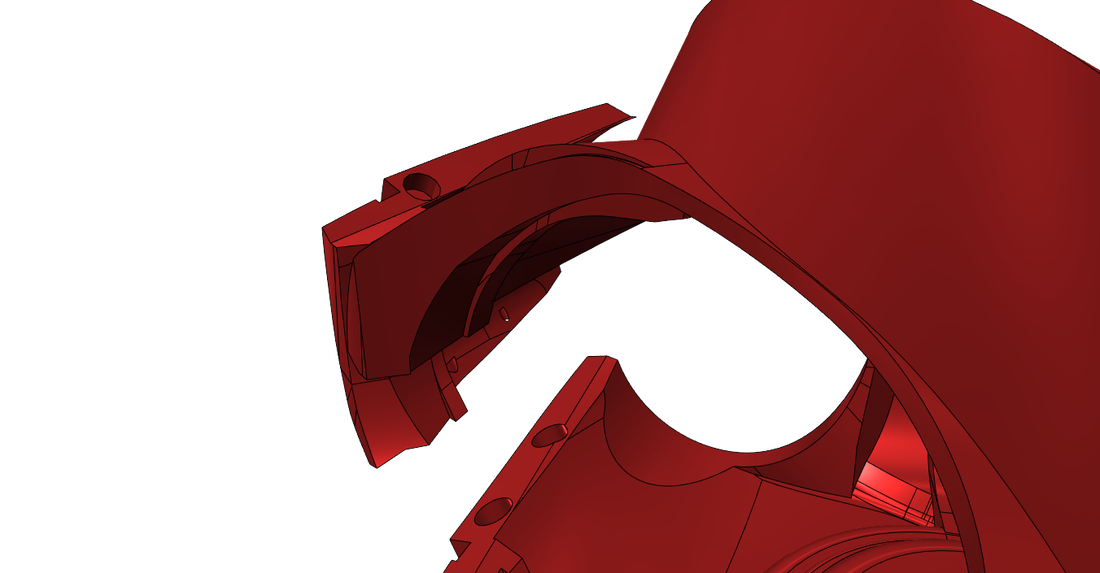
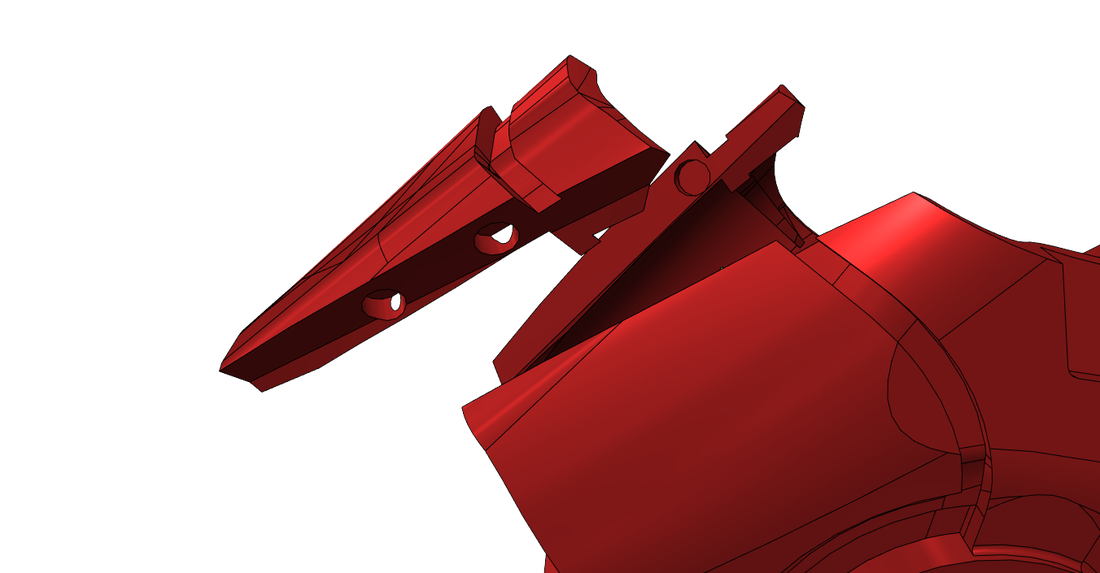
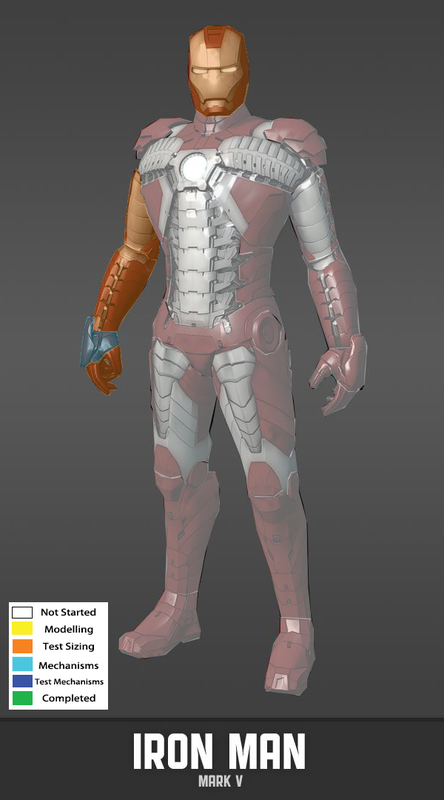
This month I have mainly worked on designing the arm and just finishing the little additions I needed to add to the palm model, getting all my parts ready for 3D printing. At the same time I mentioned last month that I will be 3D printing the helmet, ready to show off this month. Sadly, I haven't finished 3D printing the helmet yet but I have done all the design work I can in the meantime. Designing the suit - The armLast month I had only made the basic tubes of the arms, so this month I spent most of my time completing this design. I have included all the features of the previous designs and even improved on some of them. And example of this is how I have made the bottom of the upper arm look even better. If you can remember from my July update post, I did a comparison between the original horrible upper arm underside design and the previous design, looking a lot better. All this was just a duplication of the lower arm's top and bottom designs. This time I spent extra time making a unique and nice looking design. 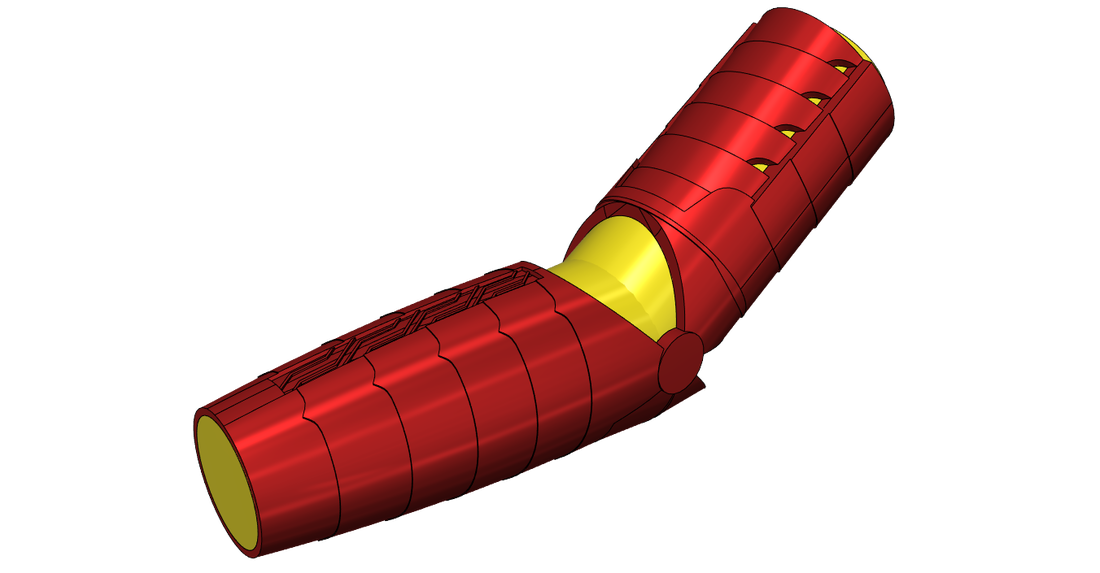 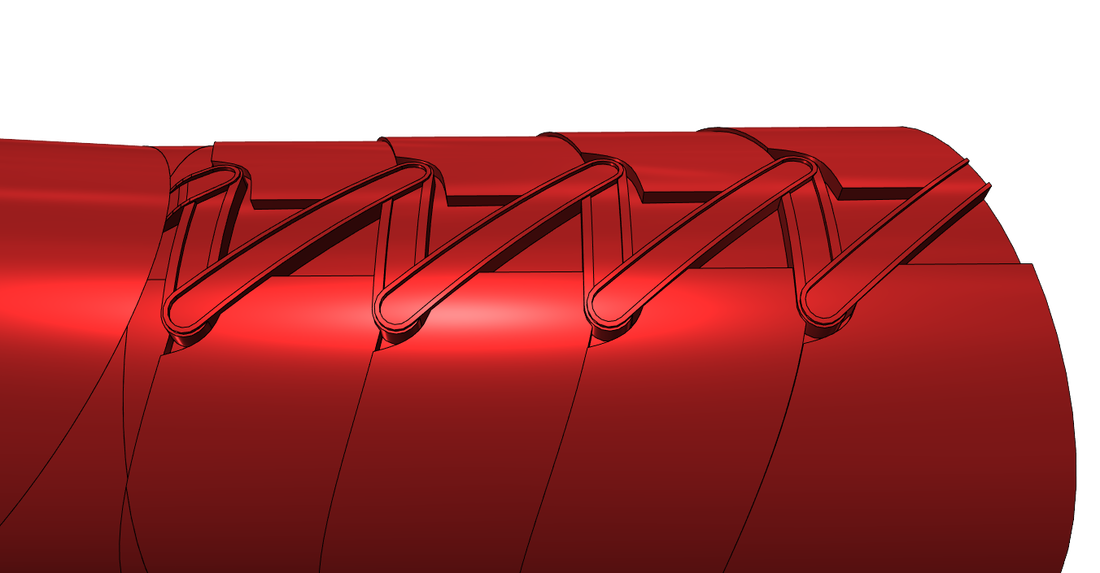 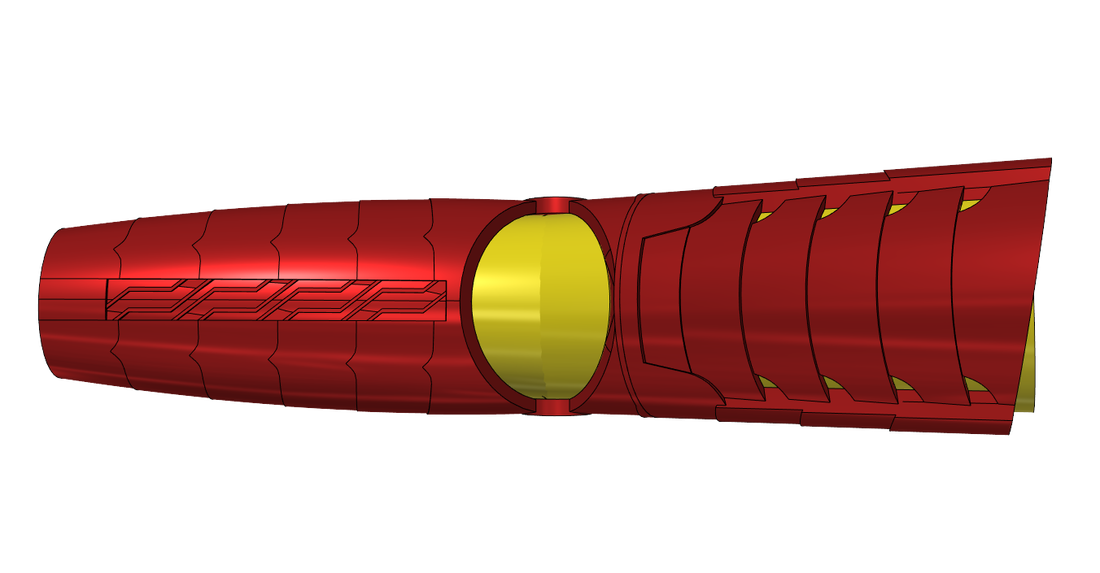 I currently haven't added any mechanisms but I know how it will work. I have split the model how I believe the mechanism will work even for the 3D printing sizing test. I plan the mechanism will work as follows: The lower arm will not change at all. The upper arm is, again, the part that breaks up and folds onto the lower arm. Instead of using the elbow joint this time, seeing I can actually straighten my arm now, I'll just have the upper arm to split into two and slide down the outsides of the lower arm, when bent straight. I'll be doing this by having a little part at the bottom of the upper arm to act as the mechanism base as well as being the part that joins the lower arm, creating the elbow joint. This base will have two parallel beams that will slot inside the inside of each side of each breakout piece. On the end of the parallel beams will be a block, with a rail at a right angle to connecting point of the beams. This rail will then connect to each breakout piece of the upper arm. What this will achieve is each of the two upper arm part to first fold out and then slide down the lower arm, when the elbow is straight. 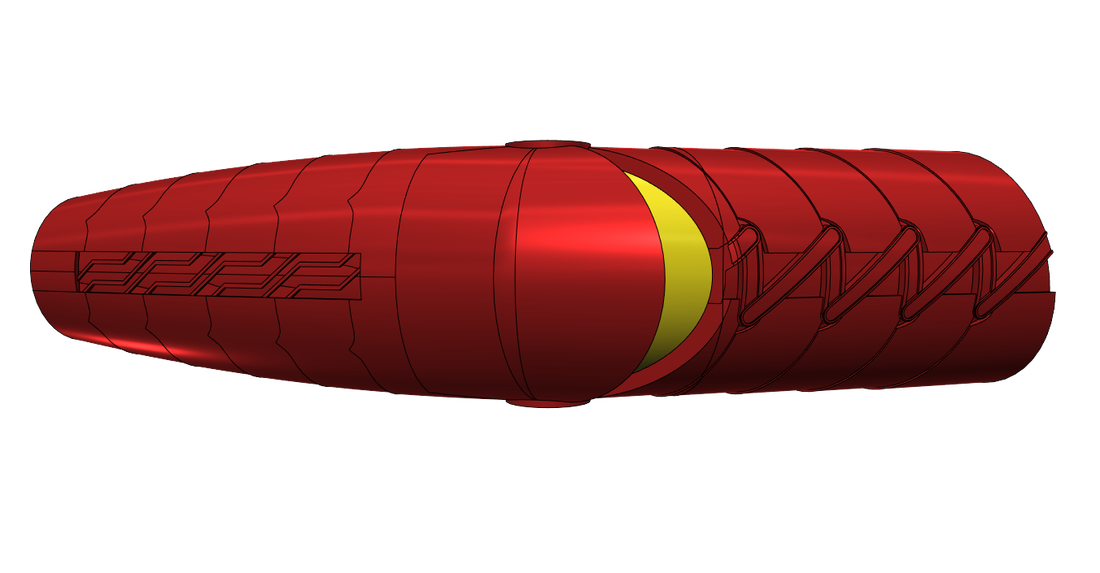 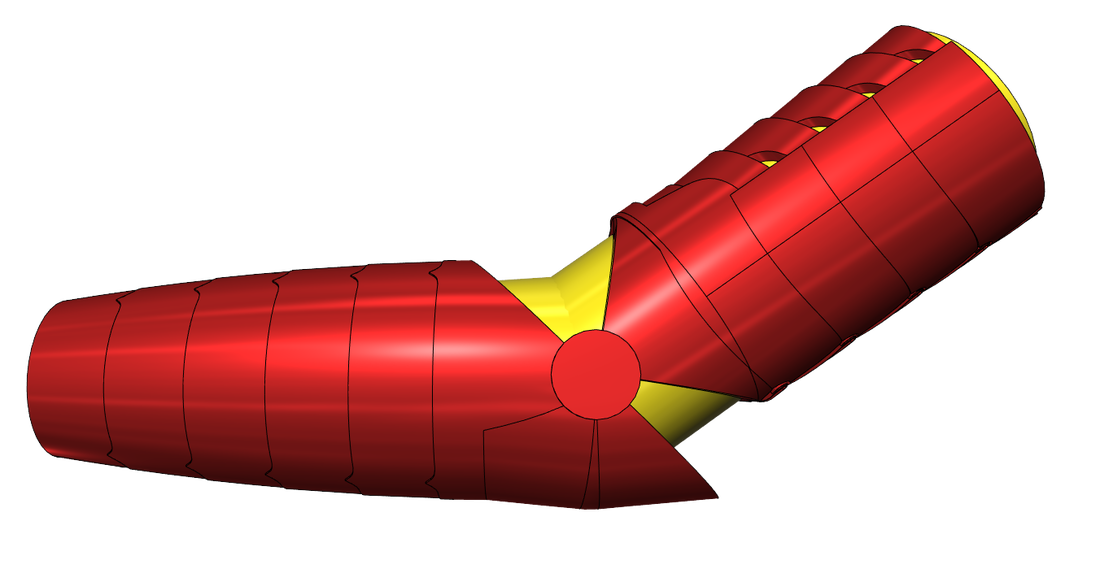  So, the arm is now completely done and ready for 3D printing. I am a bit worried about where the elbow joint it right now and that I need to stretch/squish the upper and lower parts to alter the length of each part. Hopefully I won't need to change it or if so, just do a simple all-direction scaling of the arm. Designing the suit - The palmI haven't been able to do much about the palms this month. All I have done since then is add 3 holes in the palm and 3 on the part that comes off. This is where the magnets will sit and because of their size, they actually poke through the inside wall a bit. This shouldn't be an issue though because of the amount being so minor. The plan for how the breaking off piece will work is that the magnets should hold it in place quite well, but just for some extra strength I'll also add a hooks and loops area on the back side of the break-off and piece and the glove. Not only this but I'll also attack a little string between the glove and the break-off piece so if it does come off after swinging my arms around viciously, then they wont go flying and somehow end up in a little kid's eye. Hey, it's a possibility! The last thing I need to do to the palm design is add where the Inertial Measurement Unit will go. The only way to do this is to know the size of it but I currently haven't purchased the parts. As soon as I have I will measure them, create a model representing the part in the design file and carve out a hole for it to fit in. At that point, the palm will be complete. I will then be able to 3D print the final test version to make sure the parts fit before having it professionally 3D printed. 3D printing - Issues with speed and qualityThis month I am a bit lacking on what I have to talk about and there's a perfectly good reason for this. That being, the 3D printer is slow due to its cheapness and quality is lower the faster it gets. I have made each print go a bit faster to speed up the process the the quality got noticeably a bit less refined. On the other hand, one issue I was having was weak bonds due to each layer printing too slowly on large layers and by the time the 3D printer had gotten onto the next layer, the previous layer had already cool quite a lot. What I thought I could do is test print all my parts using my 3D printer and then have the final versions printed elsewhere. First I thought via an online 3D printing company based in the UK, but the price per piece is really high. After some time a friend reminded me that there is a 'MakerSpace' in Southampton that could possibly allow me to 3D print my final pieces fast and in high quality. I plan to visit the place some time soon to see what will be the final plan, but for now I just need to 3D print my test parts at home, using my own 3D printer. Yeah, about that... I'm really bottlenecked by my 3D printer's speed. What is happening right now is I complete a model, I send it to my dad's laptop at his house and he 3D prints it from there. Each print takes about 5 hours and he works almost all day so I get about 1 piece done each day. The trouble is, we just ran out of filament, hulting 3D printing for about a week. I bought some more on eBay, fromt he same seller as always, but this time all the filament just snaps apart like hard noodles! I'm just about to complain but anywho, this just makes the wait for filament even longer so I don't know how much longer it will be until I can 3D print again. I have only 3D printed about a 3rd of the pieces of the helmet, maybe half of them, but I still need to 3D print the lower & upper arms, the fingers and the hand once I have finished that design. 3D printing - Progress of the helmet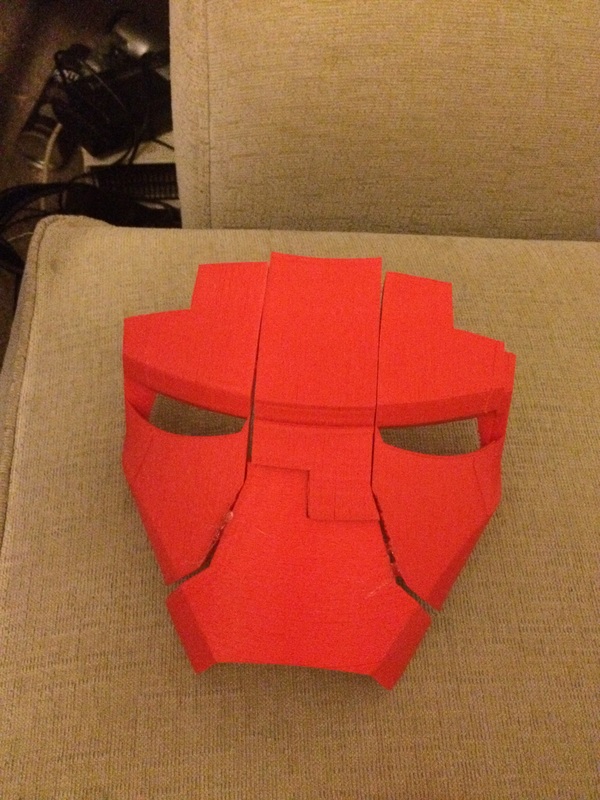 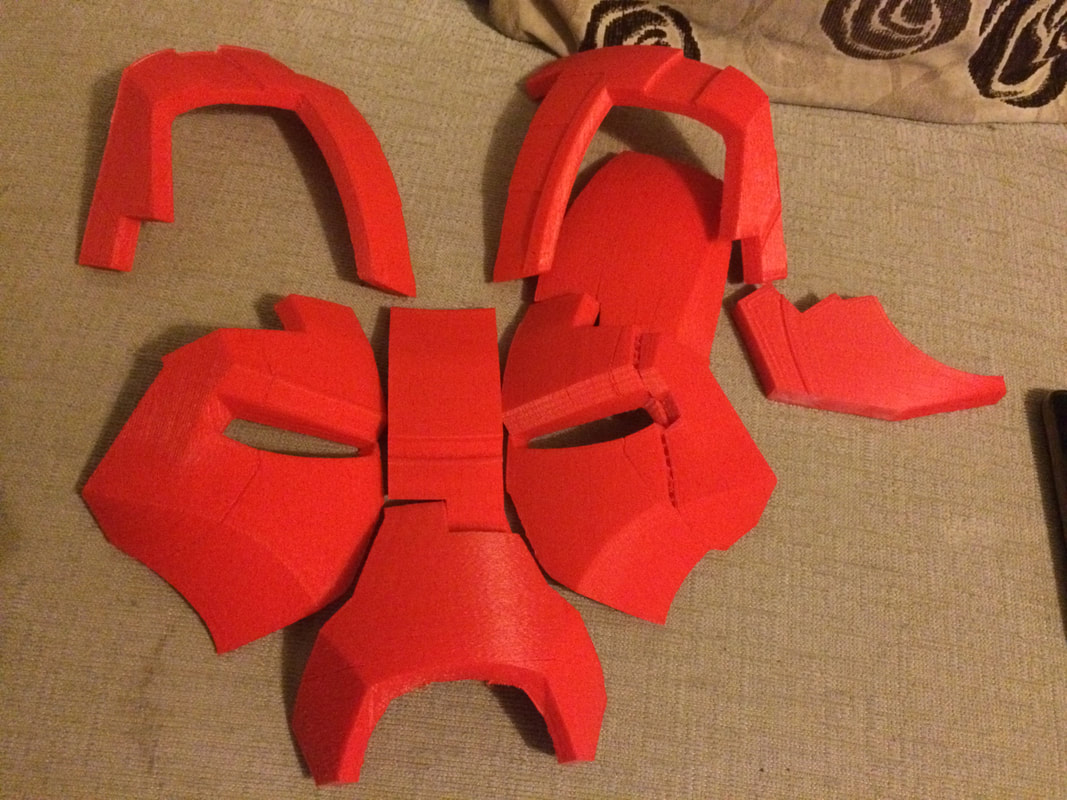 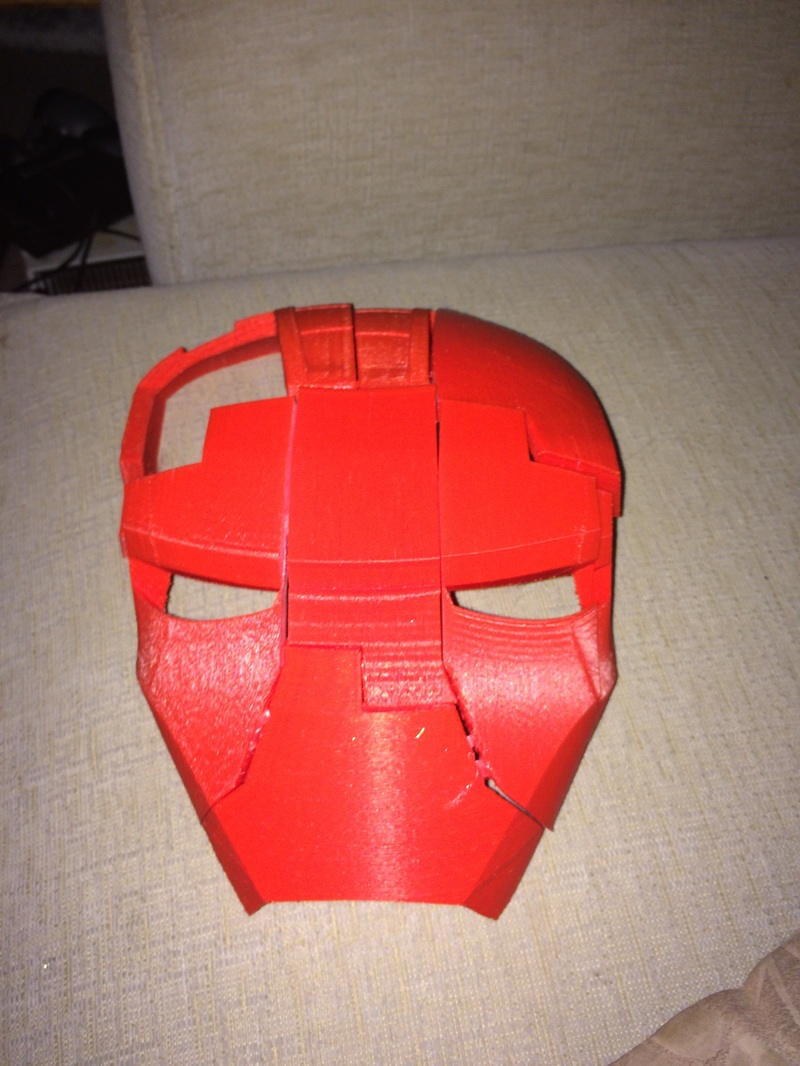 As for the helmet, it seems to be quit e bit big, but that's better than small because I'll actually be able to put my head inside without having to keep the helmet in two parts (due to the back piece securing the helmet one, yet also preventing me put it on when in place). All I need to do is measure how big each dimension is compared to my head and adjust accordingly in the helmet's scaling in the design files. Here are the parts of the helmet that have currently been printed. The summary
0 Comments
|
Author17 year old college kid who felt his course was too easy for him. Got bored one day and started making a real life iron man suit. Archives
June 2017
CategoriesBack to main site:
|